AEG Perfekt Glide-24 Instruction Manual
Browse online or download Instruction Manual for Cooker hoods AEG Perfekt Glide-24. AEG Perfekt Glide-24 Instruction manual User Manual
- Page / 17
- Table of contents
- BOOKMARKS
Summary of Contents
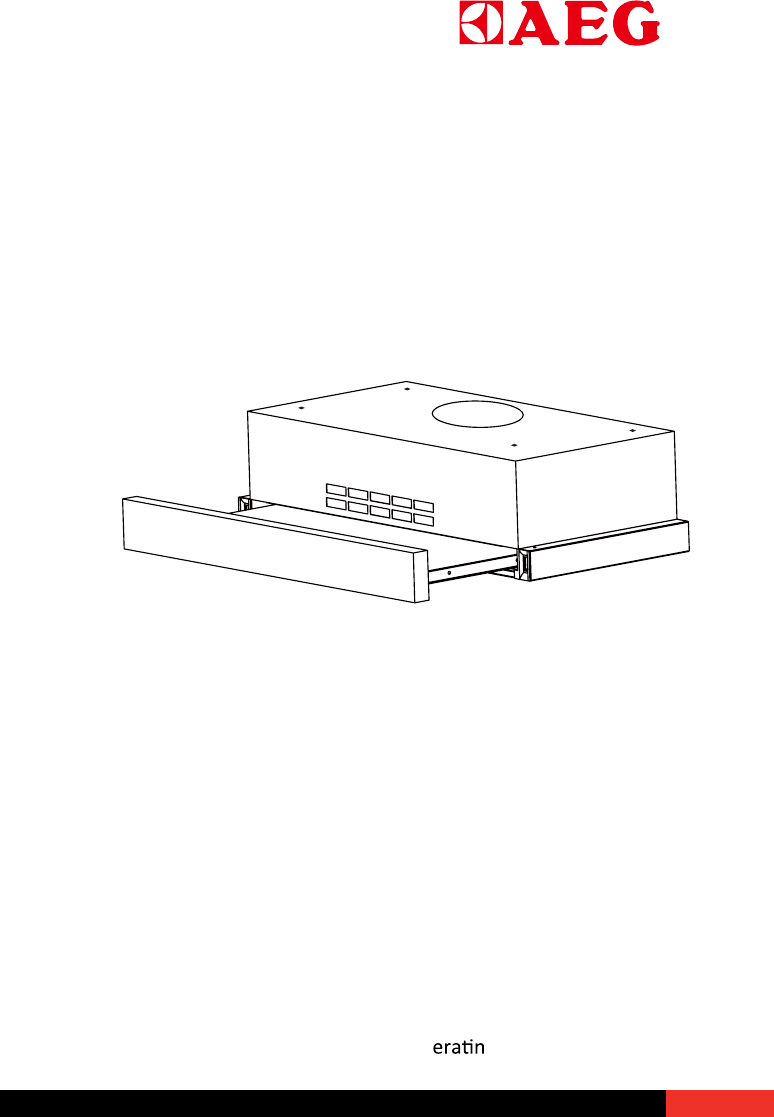
Perfekt Glide-24Perfekt Glide-30Perfekt Glide-36Built-in Range Hood Instrucon ManualThank you for the purchase of this product. Please read themanua
9 | P a g eFasten the wood strips with wood screws about 3” in from each end.NOTE:slightly more than the recessed dimension. The2. Measure and mark th
10 | P a g eHood Installa onL the hood to theproper poon in thecabinetx the self-tapping screw withwashers. Follow the middle four holes on thetop she
72W70W260 CFM6”2 x 1W72W110-120V~110-120V~110-120V~70W260 CFM6”2 x 1W72WPerfekt Glide-3670W260 CFM6”2 x 1W
12 | Page Use and Care Filter For highest efficiency, this filter should be removed and cleaned periodically. Soak the filter in hot water and mild
13 | Page Trouble Shooting If any problem occurs, please detach the plug from the socket and contact Euro-Parts or a similarly qualified person in
14 | Page Light does not turn on (but fan turns on). This could be because the bulb has burned out. Try replacing the light bulb. If the light still
15 | P a g eInstalla on DiagramPerfekt Glide-24Perfekt Glide-3018”18”11”11”6”6”30”2321”3521”3153”1954”26101”851”6017”851”851”6017”6017”Perfekt Glide-3
16 | P a g e Warranty AEG Appliances are imported and distributed in North America by Euro-Line Appliances Inc. For more informaon visit www.euro-l
1 | Page Contents Safety Precautions 2-5 Accessories 5 Features 6 Installation Preparation 6 Selecting Venting Direction 7 Cabinet Preparation
2 | P a g e Safety Precauons READ AND SAVE THESE INSTRUCTIONS WARNING to reduce risk of fire, electrical shock, or injury, observe the following:
3 | Page WARNING ʹ to reduce risk of cooktop grease fire: o Never leave cooking unattended at high settings. Boil-overs cause smoking and greasy
4 | Page CAUTION! Important ʹ observe all governing codes and ordinances. o For general ventilation use only. Do not use this appliance to exhaus
5 | P a g eCAUTION!o Do not operate any fan with a damaged cord or plug.Discard fan or return to an authorized service facility forexaminon and/or rep
6 | PageFeatureso This appliance is manufactured from top qualitymaterials, and oīĞƌs superb streamlined eīectso With highƐƵĐƟon power and low noise,
8 | P a g eCabinet Prepara on for Hood SupportThe range hood should be mounted at a distance of 24”from an electric or indu on cooktop, and 30” above
Related products and manuals for Cooker hoods AEG Perfekt Glide-24
 (21 pages)
(20 pages)
(19 pages)
(20 pages)
(21 pages)
(20 pages)
(19 pages)
(20 pages)


 (68 pages)
 (80 pages)
(20 pages)
(20 pages)
(80 pages)
(80 pages)
(20 pages)
(20 pages)
(80 pages)

 (128 pages)
(35 pages)
(68 pages)
(128 pages)
(96 pages)
(48 pages)
(13 pages)
(16 pages)
(40 pages)
(128 pages)
(35 pages)
(68 pages)
(128 pages)
(96 pages)
(48 pages)
(13 pages)
(16 pages)
(40 pages)
© 2020, manymanuals.com. All rights reserved. | 1.970 s |
 Manymanuals.com
 Manymanuals.de
 Manymanuals.fr
 Manymanuals.it
 Manymanuals.pl
 Manymanuals.cz
 Manymanuals.es
 Manymanuals-pt.com
Comments to this Manuals